 (Image via
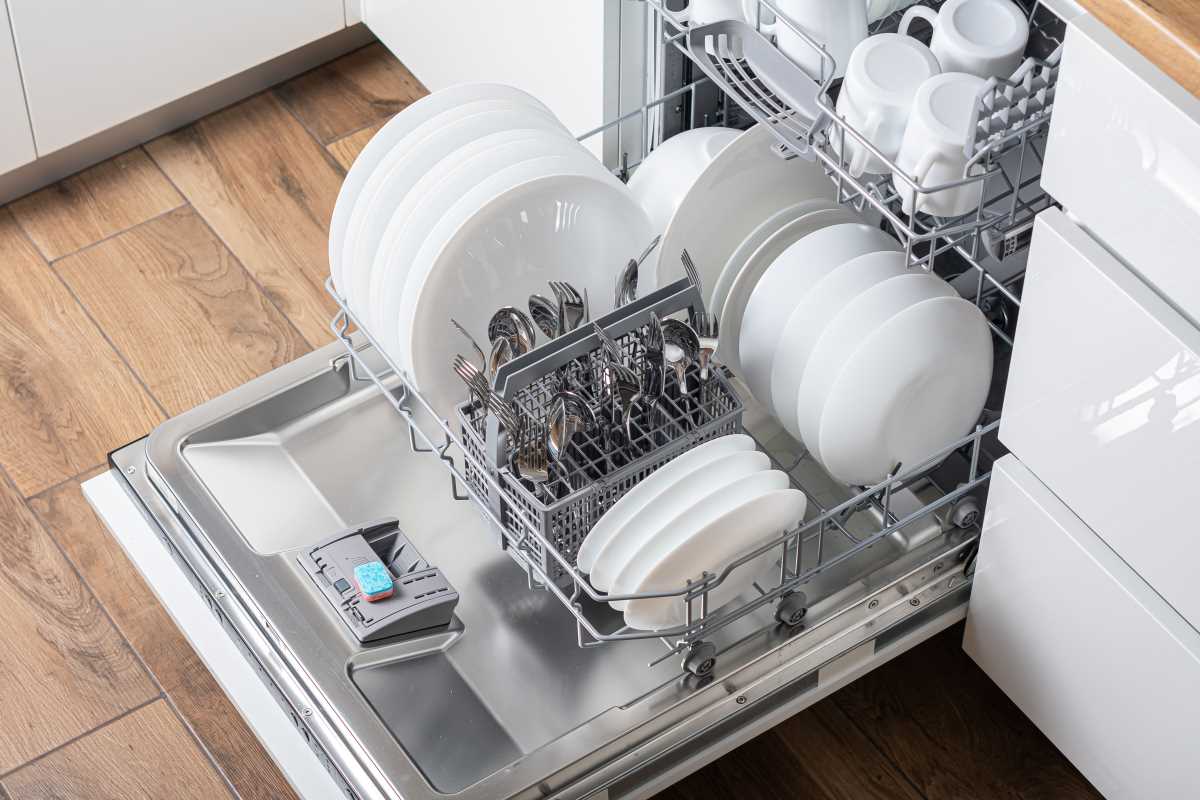
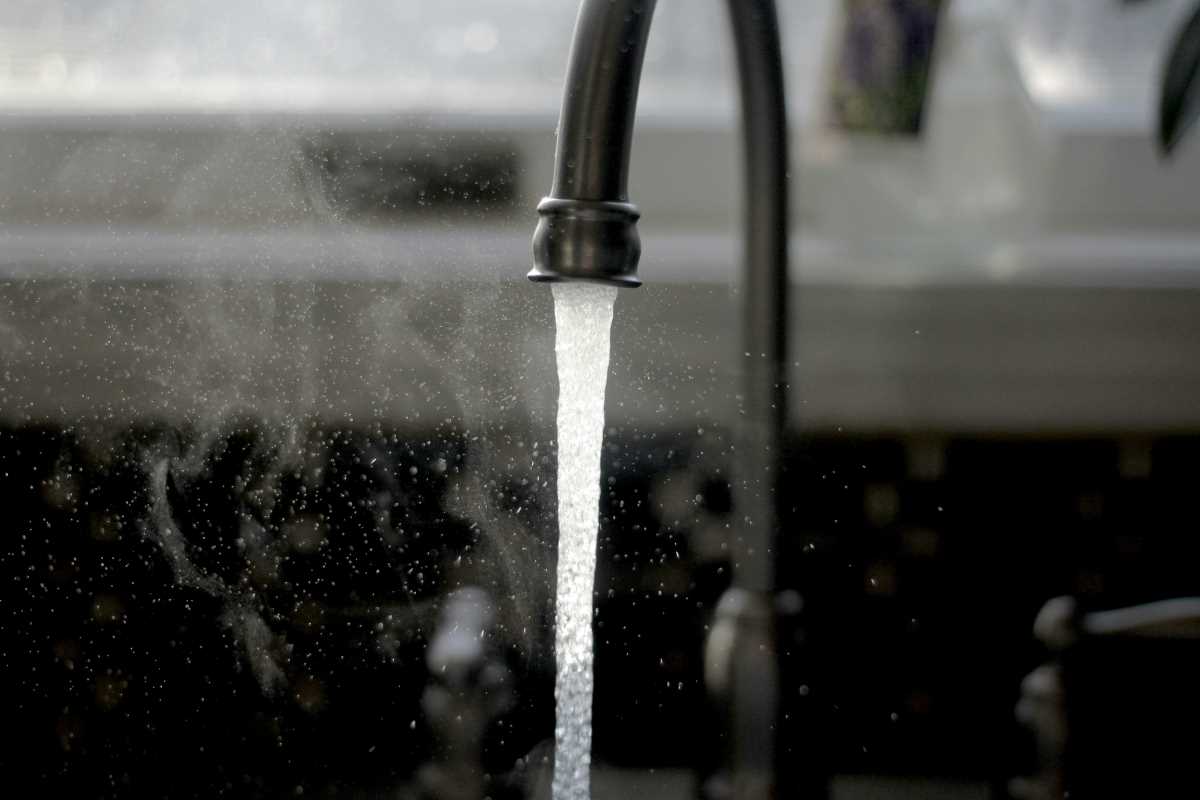
Water pressure plays a significant role in the functional comfort of a home. From enjoying a refreshing shower to efficiently washing dishes and clothes, consistent and adequate water pressure makes everyday tasks easier and more enjoyable. Over time, however, water pressure can fluctuate or decline, leaving faucets trickling instead of flowing and showers feeling less invigorating. The causes can range from minor issues like clogged fixtures to more serious system problems. With a few practical steps and regular maintenance, water pressure can be restored or even improved, enhancing overall convenience and efficiency.
Diagnose the Cause of Low Pressure
Improving water pressure begins with understanding why it’s low in the first place. Several factors influence water flow, and identifying the root cause helps target the solution effectively. Start by checking whether the issue is isolated to a single fixture or affects the entire home. If just one faucet or showerhead has low pressure, it’s likely a localized problem, such as a clog or buildup in that area. On the other hand, widespread pressure problems often point to larger system issues like pipe blockages or problems with the main water supply.
Testing water pressure with a pressure gauge provides a concrete measurement that can help diagnose the problem. Simply attach the gauge to an outdoor spigot, turn the water on, and read the PSI (pounds per square inch). Ideal water pressure for most homes ranges from 40 to 60 PSI. A reading outside this range indicates further investigation is needed.
Clean Out Clogged Fixtures
One common but easily solvable cause of low water pressure is mineral buildup within fixtures. Over time, faucets and showerheads accumulate debris like sediment, rust, or hard water deposits, which can restrict water flow. Cleaning these fixtures often restores normal pressure without requiring further action.
For faucets, remove the aerator at the tip of the spout and soak it in a solution of vinegar and water to dissolve the buildup. Rinse thoroughly before reattaching. Showerheads should be removed and soaked in the same solution, or a plastic bag filled with vinegar can be secured around the fixture for an effective cleaning method without removal.
Once cleaned, run water through the fixture to flush out any remaining particles. Addressing mineral buildup periodically prevents clogs from returning and keeps water flowing smoothly.
Check for Leaks in the System
Hidden leaks in pipes, faucets, or fixtures reduce water pressure by diverting flow away from where it’s needed. Even small leaks can add up to noticeable drops in pressure, not to mention wasted water and increased utility bills.
Conducting a leak test involves turning off all water-using devices in the home and observing the water meter for movement. If the meter continues to run despite water being off, a leak is likely present somewhere in the system. Inspecting visible pipes and fixtures for damp spots or pooling water can help locate trouble areas. For bigger or inaccessible leaks, professional assistance may be necessary. Addressing leaks promptly not only restores pressure but also prevents damage and water waste.
Inspect and Adjust the Pressure Regulator
Many homes have a pressure regulator installed near the main water supply. This device is designed to maintain water pressure within a safe and optimal range. However, regulators can wear out or become miscalibrated over time, resulting in reduced water pressure.
If the home’s regulator is accessible, check for signs of malfunction, such as corrosion or irregular fluctuations in pressure. Adjusting the regulator to increase water pressure is possible by loosening the lock nut and turning the adjustment screw clockwise to raise the pressure. Make small adjustments and test after each to avoid setting it too high, which can damage pipes and appliances. If the regulator appears severely worn or fails to respond to adjustments, replacing it ensures the system continues running efficiently.
Flush the Water Heater
For homes using a water heater, sediment buildup inside the tank can lead to reduced water flow and lower pressure, particularly for hot water. Over time, minerals and debris settle at the bottom of the tank, restricting capacity and clogging water lines.
Flushing the water heater once a year prevents sediment from accumulating and keeps pressure steady. This process involves turning off the heater, attaching a hose to the drain valve, and allowing the water to flow out until it runs clear. Regular maintenance not only improves water pressure but also extends the life of the water heater by preventing internal damage caused by sediment.
Consider Pipe Replacement or Upgrades
Older homes often have outdated plumbing systems with narrow pipes made of materials like galvanized steel, which is prone to corrosion and buildup. These factors restrict water flow, leading to persistent low pressure that cleaning or minor repairs cannot resolve.
Replacing old pipes with wider, modern materials such as copper or PEX improves water flow and pressure significantly. For homes with plumbing designed for smaller households, upgrading to accommodate higher water usage may also be necessary. Though this approach requires a larger initial investment, the long-term improvements in efficiency, reliability, and comfort make it worthwhile.
Contact the Water Supplier if Necessary
If low water pressure persists despite following maintenance steps, the issue may stem from the municipal water supply. External factors like water line leaks or maintenance work can temporarily lower pressure for entire neighborhoods. Certain areas may also have naturally low pressure due to limitations in the local water infrastructure.
Reaching out to the water supplier verifies whether external factors are affecting pressure. Many suppliers can also provide additional tips or services, such as booster pumps, to improve flow for individual homes.